Elevate User Experience: use Transition Screens in your games!
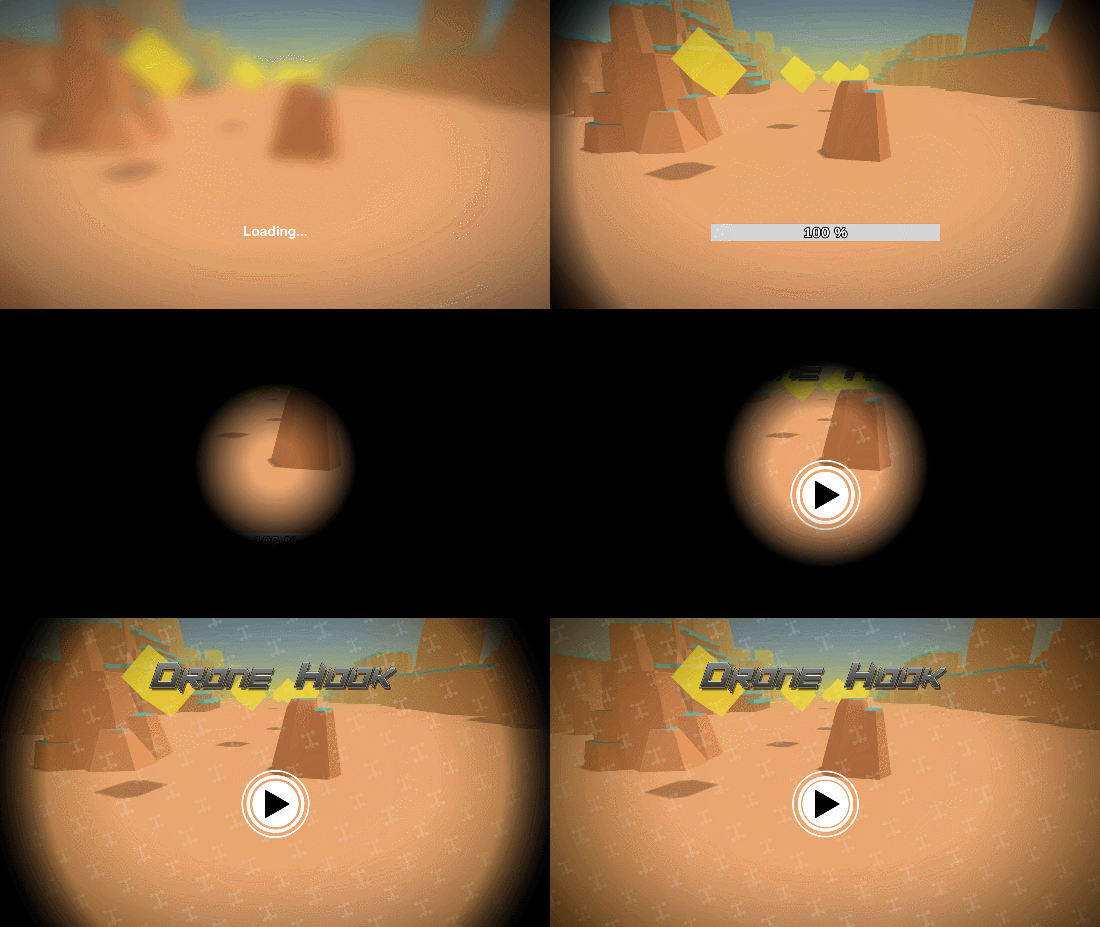
Between scenes, hiding loading times or simply making a visually smooth transition, the “transition screen” is a must have. In the open…
Between scenes, hiding loading times or simply making a visually smooth transition, the “transition screen” is a must have. In the open source toolset I share on OpenUPM, the screen transition package contains scripts and multiple prefabs allowing you to manage such screens in a reliable and flexible manner. Let see why they are important, how to use them and how to improve them!
Why screen transitions are important
First: feedback. Remember you have to show to the player something is happening even (and especially) when he does not interact. I’m not speaking about cut-scenes here, but rather loading something: a new level, a shop, a lobby, or any other stuff that could take some time preventing the player to act and get immediate feedback on its action.
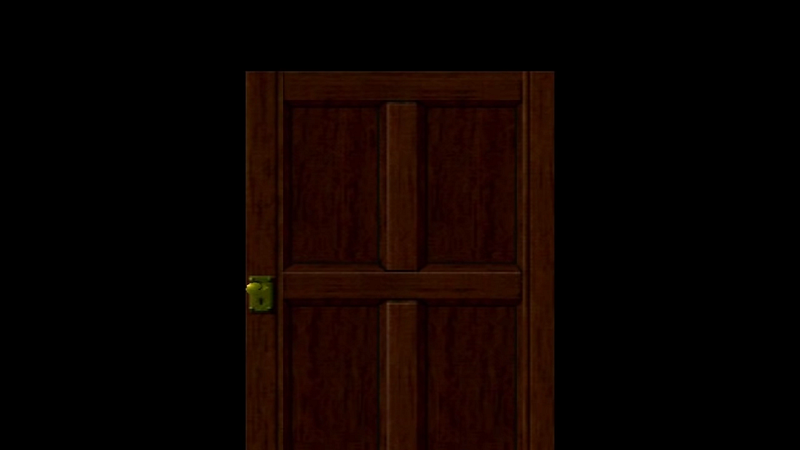
Second: immersion. Yes, that’s true. One of the first transition screen I remember was the one from Resident Evil when you go through a door. It was an intelligent way of hiding the level loading behind an immersive transition screen.
Third: design. It can be used as a design tool: to lower the pressure on the player, push him some vital information on the game, beeing a narrative, matchmaking workflow, or anything else.
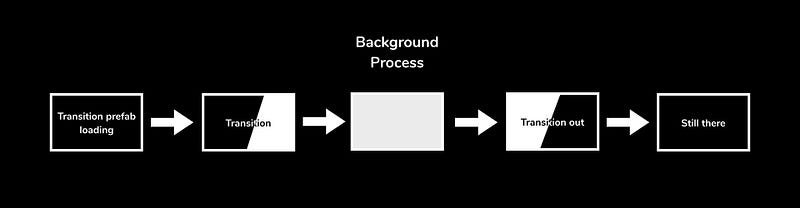
In one of our games, this screen was also used to hide the procedural generation time required for the next level to be created. The first algorithm was so fast that it was easy to hide it using any UI animation, but finally, after some refining to get interesting levels, the duration was too long for it to be hidden only this way. We added a transition screen that act in three steps:
- show the transition screen to hide everything else
- send an event so any required function can be called, like generating a level
- once everything is setup, hide the transition screen.
How to create them?
You can do it on your own, use existing assets, or take inspiration from existing assets then create your own. Luckily for you, I now share what we used in numerous games created for mobile, kinect app or consoles. So I will talk now about a unity package, consisting mainly in one prefab that you can just put in your scene.
What I advise you to do is to put this prefab in the early stages of your game loading workflow. I discovered that four scenes is the best way of handling the full loading of a game, see my specific post on that.
Once the prefab is present, you’ll notice that it has its own Canvas configured to be on top of others. You may have to check if this suits your needs.
Then, simply call the Transition.Show() static function to launch the animation that will cover the whole screen.
The event configured by default in the prefab will be called, so if you want to do something special when everything is hidden, subscribe to this event. You will find a sample in the package so you can perfectly understand how to do it. And I will also soon have a dedicated event management post for you describing the whole process.
In the sample, I also use the EasyLoading package that is meant to smoothen asynchronous loading of scenes in Unity (it’s pretty straight forward but if you think a post would be useful, ask me! ). So by default, you only have to enter the scene name in the prefab, and nothing else.
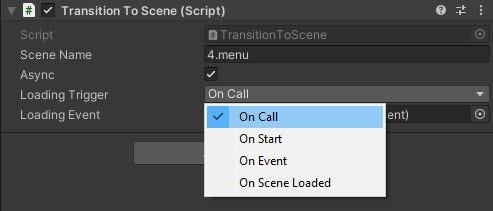
This package allows to display a nice loading gauge on the screen, so the player knows something is happening. Once you have handled whatever you want in your workflow and the new scene is ready to be activated, either you use the default setting and it’s done automatically, either your workflow requires more processing power, and you may have to postpone the scene activation. In this case, you will have to call the function on the LoadScene script to activate the new scene.
Cosmetic
In the ScreenTransition package, I share two different prefabs for the transition:
- with moving images
- with a gradient shader
Moving images
This one animates images on the Canvas to get a nice animated transition. You can customise it with your own colors to get the result you want. It can be good to use black colors to get a full black screen at the end of the animation, it renders usually best on small screens and the player understand well it is a transition screen in this case, but it’s up to you.
Gradient shader
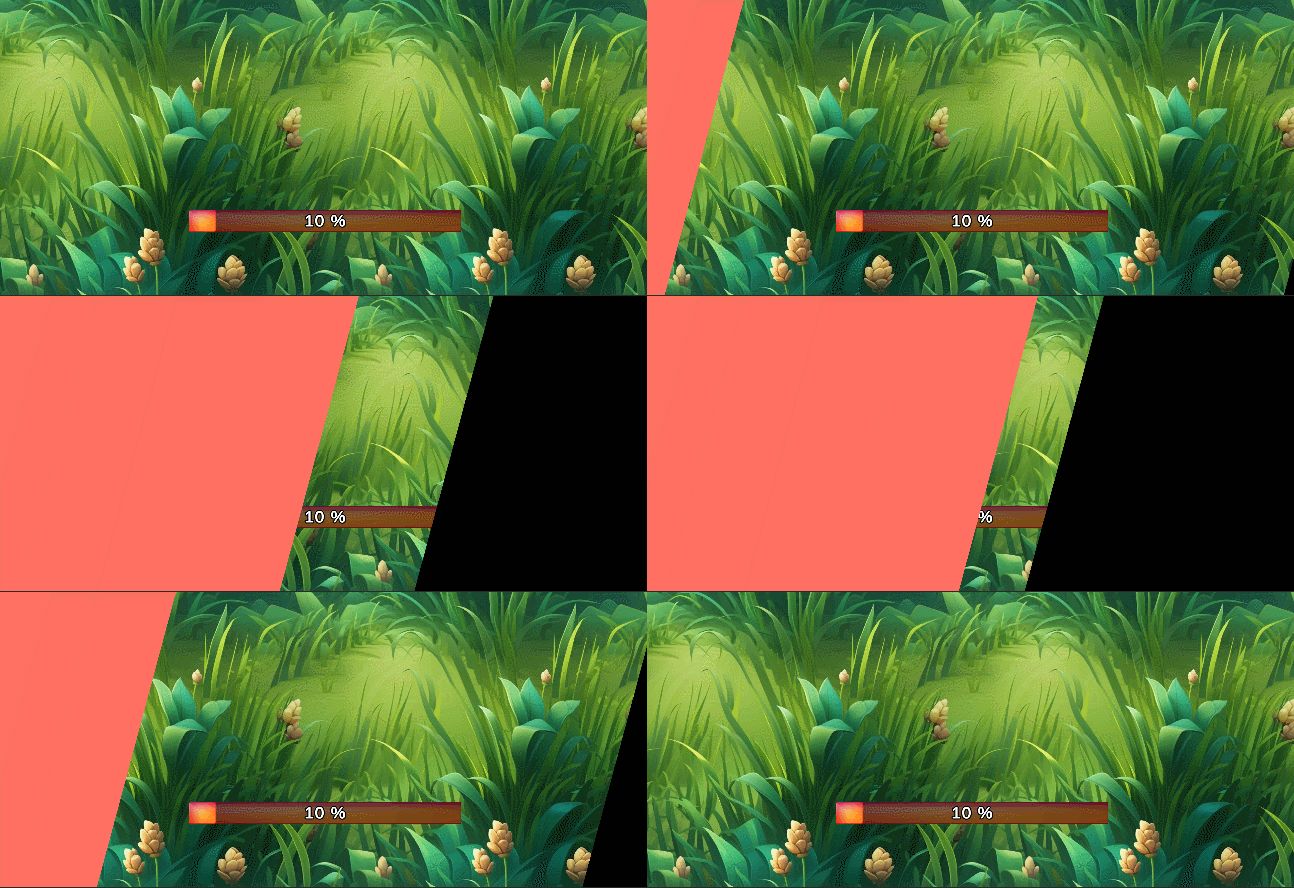
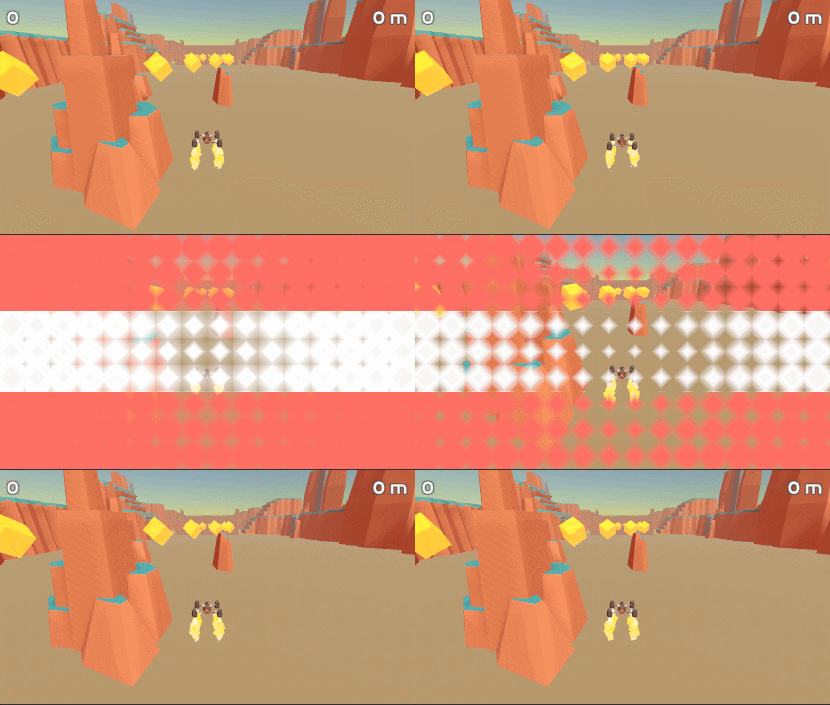
This one uses two images and a color: one that will be displayed full screen during the transition, and another special one that is use for the transition effect. The gradient image is only black and white and all values between full black and full white create the transition effect. Here are some samples to show you how it renders.
As the other prefab, you can customise this one by using your own images to get an awesome transition!
Screen Transition as a package
Now, you may want to use it in your projects, I sure do. To use it widely in mine, I’ve imported it in the openupm package repository. To import any of the tools I wrote available on OpenUPM, follow the steps below.
1. Add openUPM as a scoped registry in unity
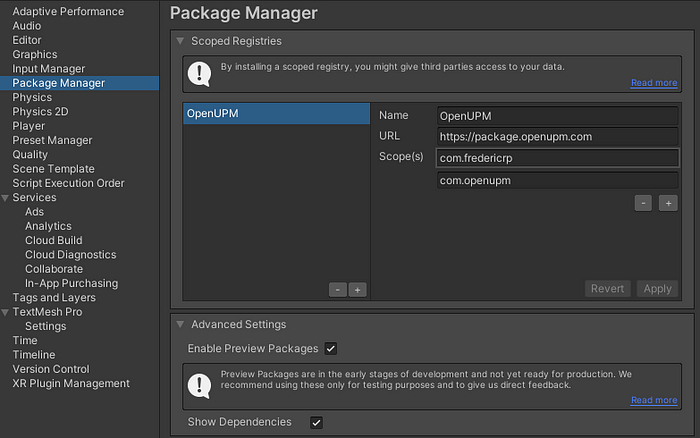
From the project you want to add your package to, go to your project settings, in the section named package manager where you can add a scoped registry.
From the same registry, openUPM, you can add multiple scopes if you find other useful assets there, so be sure to add every scope you want to so Unity will search for them at the right place. Set the name as you wish, I just use OpenUPM. Set the URL to https://package.openupm.com then start by adding “com.fredericrp”, then apply.
2. Import the package from the Package Manager
Once it’s done, you will see the matching registries in the unity package manager, under the section “My Registries”: my packages are grouped under the name “FredericRP”. Like any other package, you can install, update and remove the packages directly here, and they will appear under the “Packages” folder of your project.
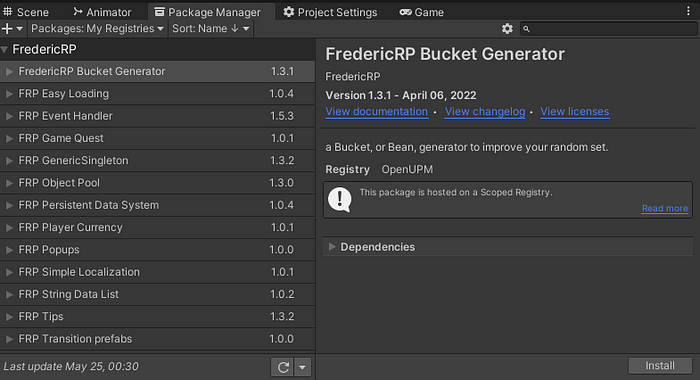
This is one of the many tools I share on openUPM, follow me to understand and know all the others tools I share and follow my journey with unity!
If you liked this article, I let you applause or comment it, and thanks for reading up to this very end!